Starting Seeds Indoors to Extend Growing Season
Tired of waiting for spring?
Starting seeds indoors is a great way to get that green thumb practiced up and extend the season while saving money on plants.
Gardeners in any zone can get a jump on the season by starting seeds indoors, but in Growing Zone 3 where I live, it is absolutely essential for tomatoes, peppers, melons and other heat-loving plants.
Of course you can always purchase plants at your local greenhouse or even online, but starting seeds indoors can save money while scratching that gardening itch a little early.
Setting out your plants
Indoor Planting Schedule
The basic essentials for indoor planting are:
Grow lights


South facing windows with a good wide sill will provide a lot of light in late spring as the days start lengthening. However, in the late winter and early spring, a grow light is best to avoid long leggy, spindly seedlings that are stretching to try to find light.
Modern LED energy efficient grow lights that give full spectrum light are available or if you have a lower budget you can use an older style fluorescent fixture.
Potting Mix

To start seedlings, you need a sterile, disease-free medium. While soil from your garden can be sterilized in the oven, it is a messy, smelly, cumbersome process that you will want to avoid. Besides, you will find garden soil to be much too heavy, especially when wet.
The best idea is to buy a good bag of potting soil or even a soil-less potting mix. The seeds contain all the nutrients the plants need to get started. All we really need is a medium to hold the roots in place and allow them to get moisture.
You may also want to get some vermiculite to help avoid the damp off caused by fungal diseases in new seedlings.
Heat Source

While not essential, an electric heat mat will speed up the process of germination.
If you choose not to start with a heat mat, try to find a warm spot to place germinating seeds, such as the back of top of your refrigerator, or close to an electric heater.
Planting trays and pots

Many sizes and styles of pots are available. You will want to use a tray to hold your pots so you can water from the bottom. You can usually buy a kit with planting tray, plastic dome, and individual plant cells made either from plastic, peat, or coco coir. The plastic cells can be reused if you’re careful, whereas the peat or coir cells slowly biodegrade right in your garden.
Seeds
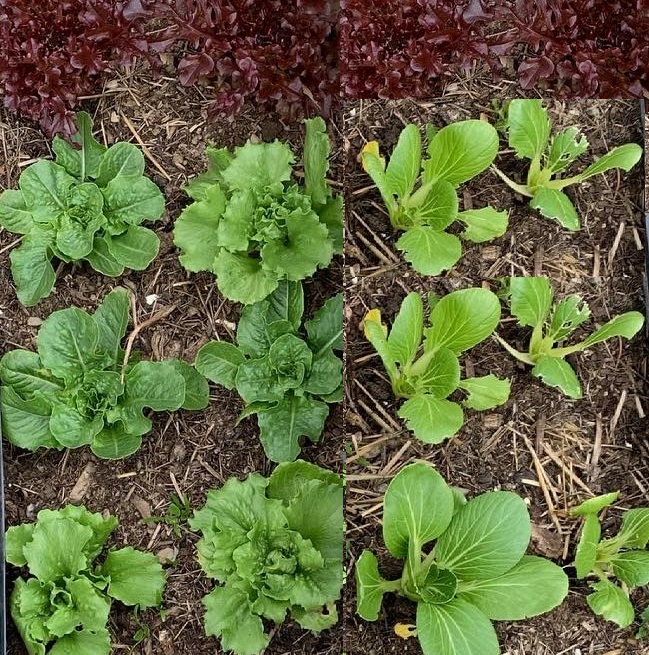
As mentioned earlier, tomatoes, peppers, and melons will need to be started inside but you can also get a jump on the season with cucumbers, squash, broccoli, cauliflower, celery, and lettuce. You will want to AVOID transplanting peas and beans or any root crops such as beets and carrots. These plants should be direct-seeded outdoors.
Starting seeds indoors simplified

Fill your pots right to the brim with potting mix that is quite moist. (I like to add hot water to the planting trays and let the water seep up into the pots, saturating the soil and warming it at the same time. (If the potting mixture contains a lot of dry peat, you may have to pour water directly into the mixture and stir it around.)
Once your soil is moist, pat the surface flat and put one or two seeds into each cell. Lightly cover the seeds with a bit of dry potting mix. I like to add a fine layer of vermiculite on top to absorb any extra moisture and avoid damping off (the rotting of the stem caused by fungal diseases).
Use a craft stick to write down the variety of plant and date started for each tray. Do not assume that you will remember later!
Cover your tray with a dome or some newspaper and put it in a warm place (a heat mat or the back of your refrigerator is ideal) until the seeds begin to germinate.
When the seedlings start to emerge, move the tray to a grow light or a south facing window. Try to keep the light no more than 2 or 3 inches from the plants, so they don’t get leggy as they stretch toward the light.
If your plants are in the window, you will need to turn them every day or so as they reach toward the light.
Bottom watering is the ideal way to prevent fungal diseases from damping off your plants. When the soil starts to dry out, add some warm water to the bottom of the plant trays and the potting soil will soak it up.
Re-potting

Starting seeds indoors usually requires re-potting before the final transplanting outdoors. This ensures the plants don’t get root-bound, and strengthens the plants
Gently remove the plant from the cell, taking care not to pull on the stem or damage the roots. Gingerly hold the plant in the bigger pot and surround it with soil right to the top of the pot. With tomato plants, you can set them right in the bottom of the pot with just the top leaves sticking out. The buried stem will form new roots, making the plant stronger.
Hardening off

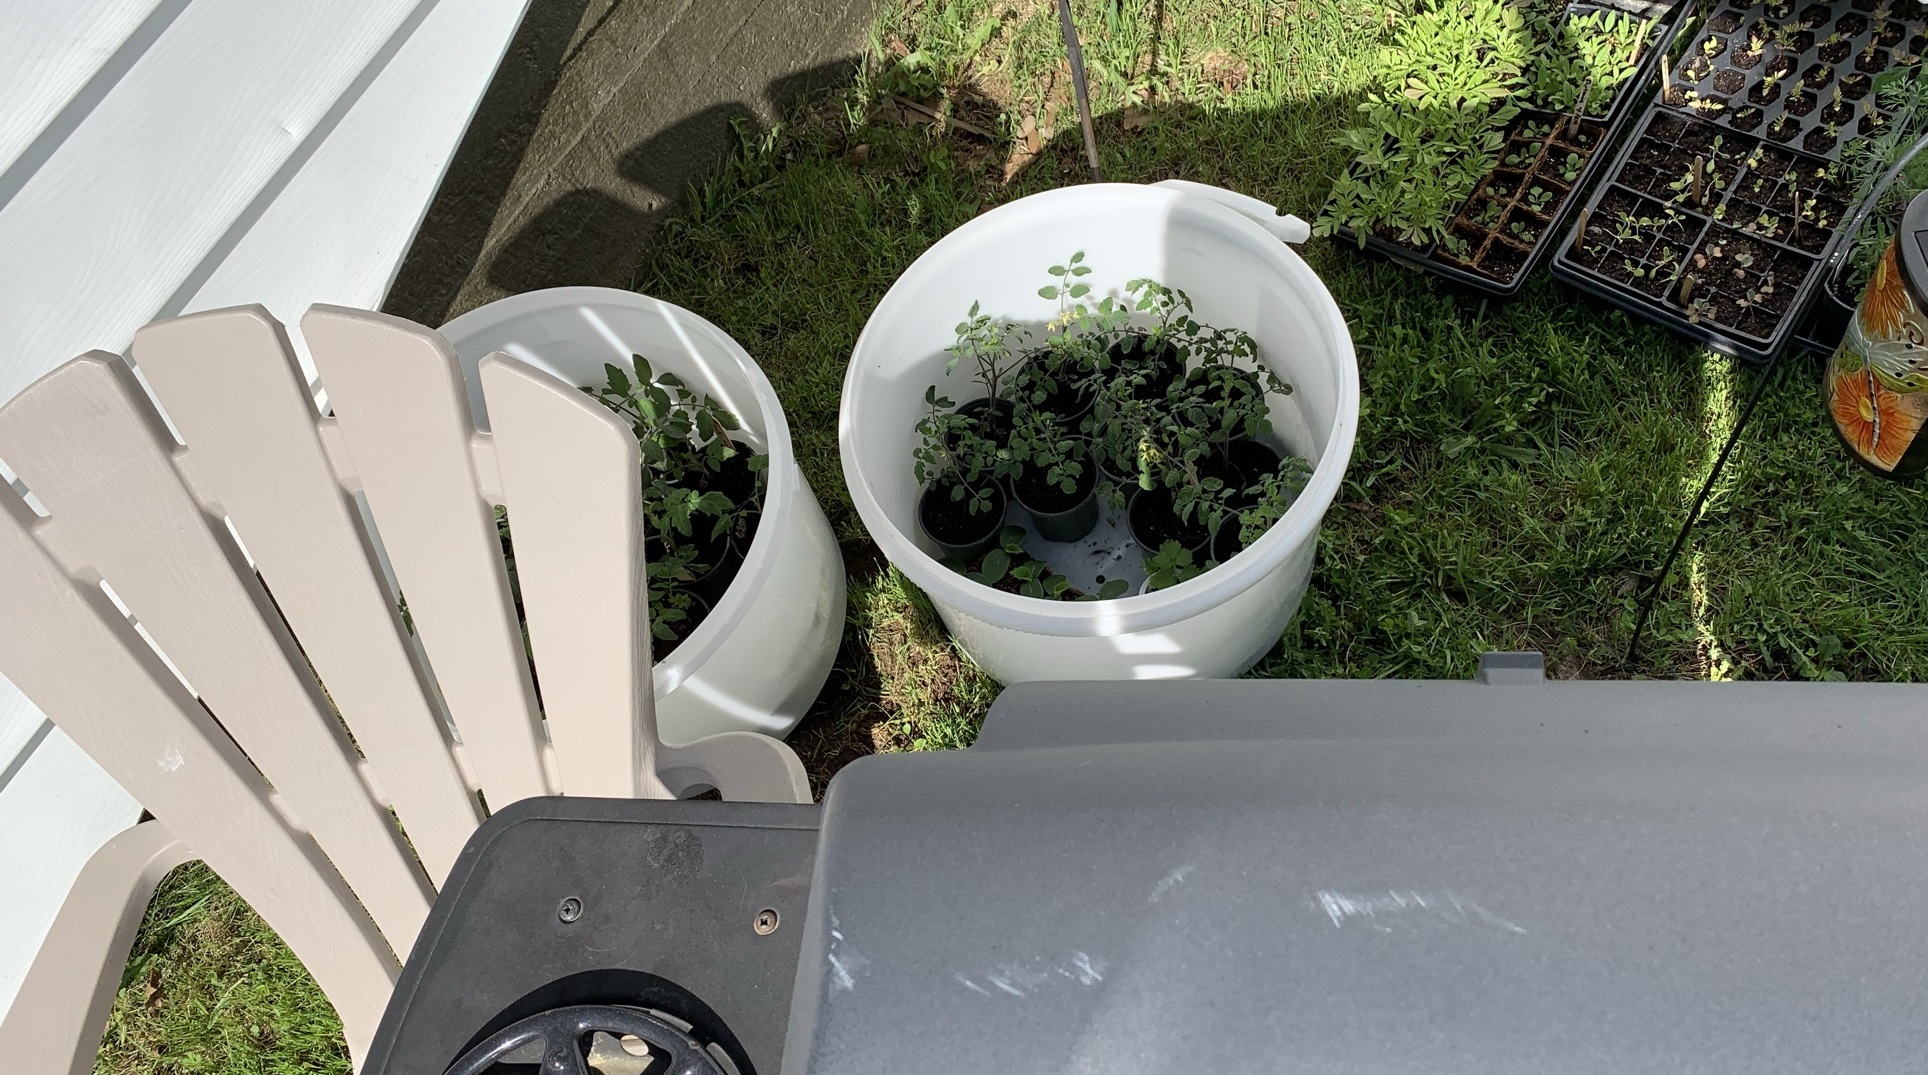
About one week before you set out your plants, you need to begin hardening them off to avoid transplant shock.
On a nice mild day, set your plants out in an area sheltered from direct sun and wind for short time.
Each day, gradually increase the time your plants are outside.
Setting out your plants
After about a week, your plants should be ready to set out, ideally on an overcast day or just before a rain. If this is not possible, at least wait until evening and then provide shade for several days.
Make a hole large enough for the plant.
Carefully remove the seedling from the pot, and set it in the hole. Firmly press the soil around it and water it in place.
Indoor Planting Schedule
Heat loving plants should not be set out until all danger of frost is past. If you are not sure, you can look up average last frost dates for your area here. The following chart will give you an idea how long before the last frost to start your seeds indoors.
|
10-12 celery peppers |
6-8 tomatoes |
2-4 cucumbers squash broccoli cauliflower basil |
direct seed carrots beets peas beans rutabaga potatoes |
Sign up for Short Season Garden Tips
Our newsletter is packed with tips for vegetable gardening in any zone, but is especially designed with short season gardening in mind.
Recent Articles
-
Leverage zone 3 advantages for cool season crops by planting early
 Cold climate gardeners sometimes mistakenly think cool season crops don’t need to be planted early.
 -
Hardening plants off is essential for avoiding transplant shock
 Hardening plants, while essential for ensuring the survival of your seedlings, can be challenge if you work a full-time job.
 -
Is composting in winter feasible in cold climates like zone 3?
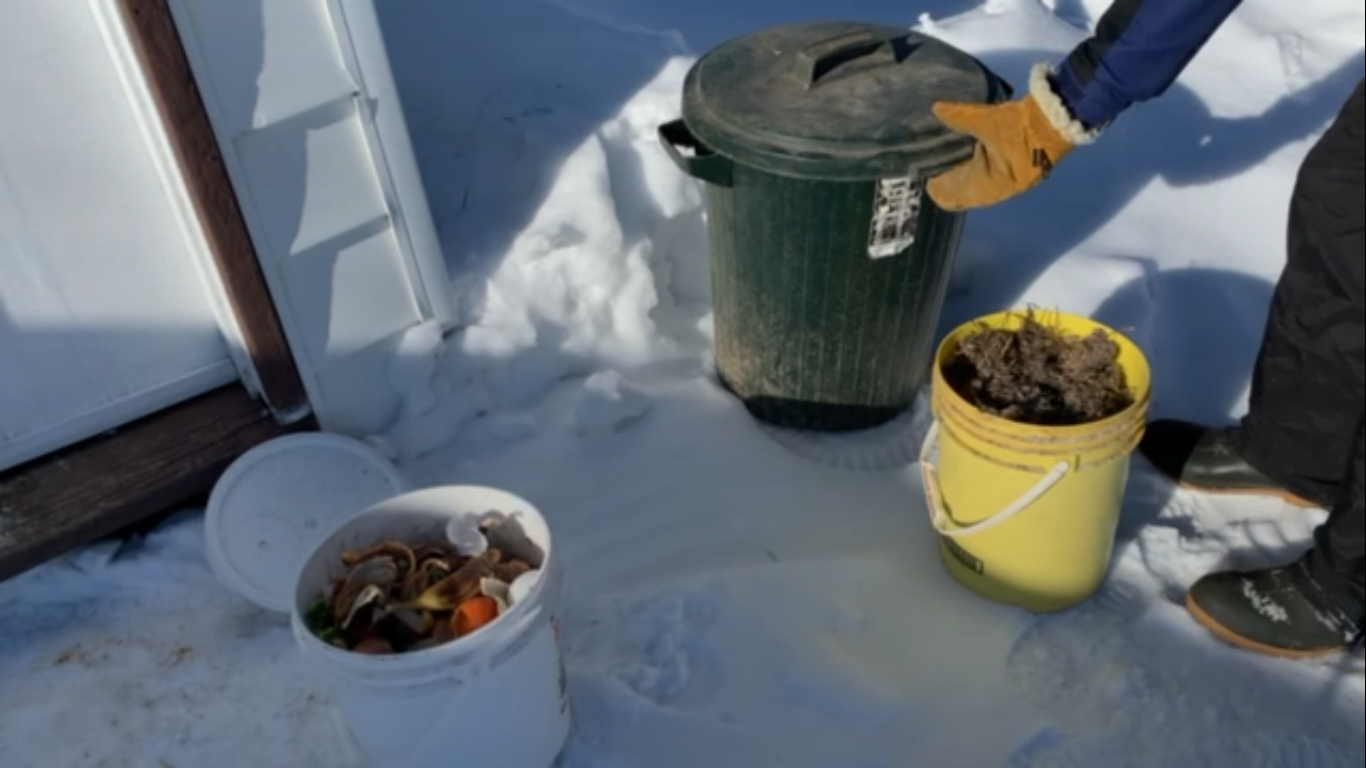 Composting in winter is possible even in the cold climate of Zone 3. However “northern” is a relative term. Take all “northern advice” in context.