Growing Microgreens Indoors in Winter
Growing microgreens in a tray under lights is a great way to scratch your gardening itch in the winter and supply yourself with fresh, local, totally organic, nutrition-packed greens.
All you need to get started is
1. A grow light,
2. A planting tray,
3. Some potting soil, or a soil-less potting mix,
4. Some seeds.
Grow light
Your grow light can be anything from a fancy system of multiple shelves with LEDs, to an old fluorescent fixture hanging from chains. A south facing window will even do in a pinch, but may not give you the same level of success.
Planting tray
Any shallow plastic tray will do. I experimented with clam-shell trays from the grocery store that had contained raspberries, arugula, and even donuts. Full size trays designed for microgreens are available from your seed company. These trays come with or without drain holes, and are typically shallow to make it easier to cut the greens close to the base of the plant.
Potting Mix
I learned the hard way that you really should use a good potting mix. My first try was with some left over topsoil and the results were less than optimal. Use either a good potting soil, or a soil-less potting mix the same as you would for starting plants in the spring for outdoor growing.
Seeds
As growing microgreens becomes more and more popular, every seed company provides seed mixes giving various levels of zest and flavor. I like simple sunflower seeds or even pea and bean seeds left over from the seed order of last spring.
I have discovered that it is important to make sure the seeds are not too old. You want them to be viable. A good way to test your seeds for viability is lay out 10 seeds on a damp paper towel in a zip lock bag. If fewer than 7 or 8 seeds sprout after a week or so, it’s probably time to throw the seeds out and buy new.

Growing Microgreens Simplified
Growing microgreens is not a lot different from starting any plants indoors.
Fill your tray with potting mix up to about a half inch from the edge. Make sure the soil is quite damp. You can either pre-wet it before putting in the tray, or give a good soaking in the tray.
Take a small block of wood, or something flat and tamp the soil down so that it is level and smooth. Sow your seeds very thickly, covering the tray. If you are using larger seeds such as peas or beans, you will want to pre-soak them for a few hours.
It’s a good idea to lightly cover your seeds with a layer of your potting mix.
To make the seeds germinate faster, cover them with a newspaper or a plastic dome and place them on a heat mat or the back of your refrigerator where it is warm.
As soon as the greens start to appear, place your tray under a grow light or in a south facing window.
Keep a spray bottle handy so you can mist the greens lightly if the soil starts to get too dry, or alternately you can bottom water if you have a larger container to set your tray in.
Harvest your greens with a pair of scissors when they are one to two inches high. Snip them off close to the base, taking care not to get too close to the soil.
Only harvest what you can eat fresh. Of course they are great in a salad but they add flavor to most anything. It makes my wife roll her eyes, but there is nothing better than a few greens added to a dish of yogurt with some berries and granola to go with my morning coffee!
It may not compete with summer veggies, but growing microgreens is a great way to break up the winter!
Sign up for Short Season Garden Tips
Our newsletter is packed with tips for vegetable gardening in any zone, but is especially designed with short season gardening in mind.
Recent Articles
-
Leverage zone 3 advantages for cool season crops by planting early
 Cold climate gardeners sometimes mistakenly think cool season crops don’t need to be planted early.
 -
Hardening plants off is essential for avoiding transplant shock
 Hardening plants, while essential for ensuring the survival of your seedlings, can be challenge if you work a full-time job.
 -
Is composting in winter feasible in cold climates like zone 3?
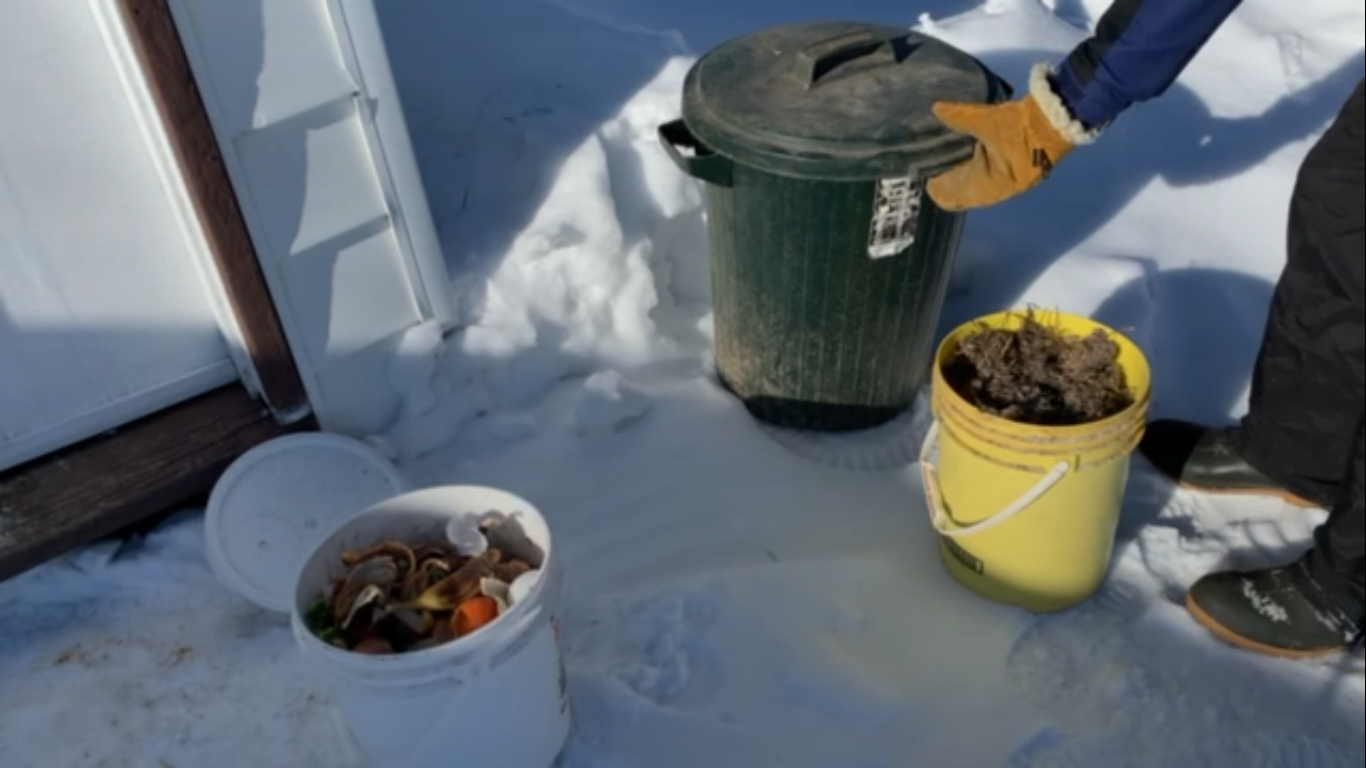 Composting in winter is possible even in the cold climate of Zone 3. However “northern” is a relative term. Take all “northern advice” in context.