Growing Sprouts in a Mason Jar Provides Quick, Fresh Nutrition in Winter
Tired of winter?
Looking for fresh local produce?
Make your own by growing sprouts in a mason jar!
You can grow your own sprouts very quickly and easily with almost no equipment!
You don’t need grow lights.
There is no soil or plant starter mix to make a mess.
Furthermore, sprouts are full of all the nutrition the seeds had stored up for the new plant, including lots of protein.
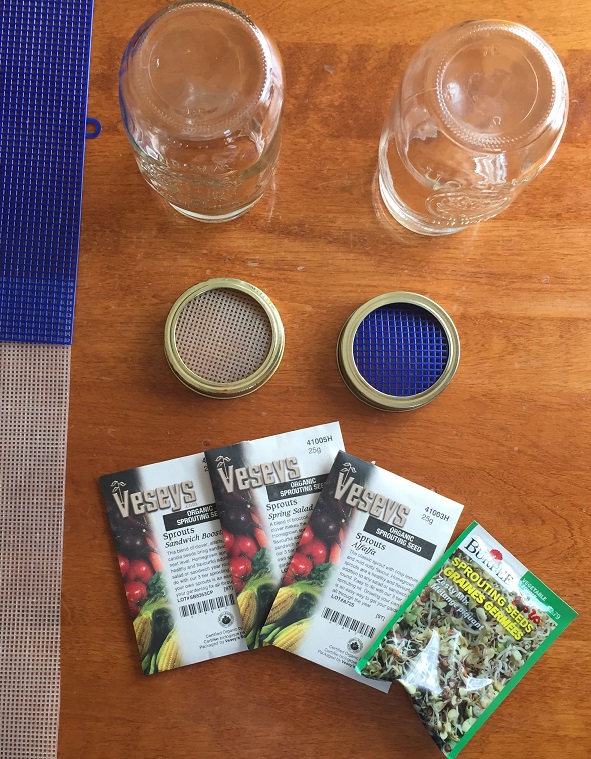
A Mason Jar
You can use any size mason jar, but since the sprouts are best fresh, several smaller jars are better than one large jar. You can stagger your jars by 2 or 3 days in order to have a steady supply.
A Sprouting Lid
Although sprouting lids are readily available online, you can easily make your own with plastic canvas from your local craft store. If you will be planting large seeds such as mung beans, plastic canvas with 7 holes to the inch is fine, but if you are going to use smaller seeds such as alfalfa, you need 10 holes to the inch so you don’t lose the fine seeds.
Seeds
You should avoid using treated seeds for sprouts because you don’t want to eat the fungicide that the seeds were treated with. As long as your seed is untreated, almost any seeds can be sprouted but some seeds are better than others. Alfalfa and mung beans are common choices for sprouting because they sprout fast and are nutritious and tasty. Many seed companies sell mixes that could include seeds from alfalfa, broccoli, radish, and other interesting plants to add flavor and variety.
Growing sprouts in under 5 days
Before you start, it is very important to make sure everything is clean. Hot water and lots of soap should be used to clean the jar and lid.
Pour about one tablespoon of seeds into your jar, put a couple of inches of water in the jar, and put it in a nice warm spot out of direct sunlight. The top of a refrigerator near the back is an ideal spot. (This presoaking is especially helpful for larger seeds.)
After a few hours of soaking the seeds, drain the water thoroughly, rinse the seeds with more water, and drain them again.
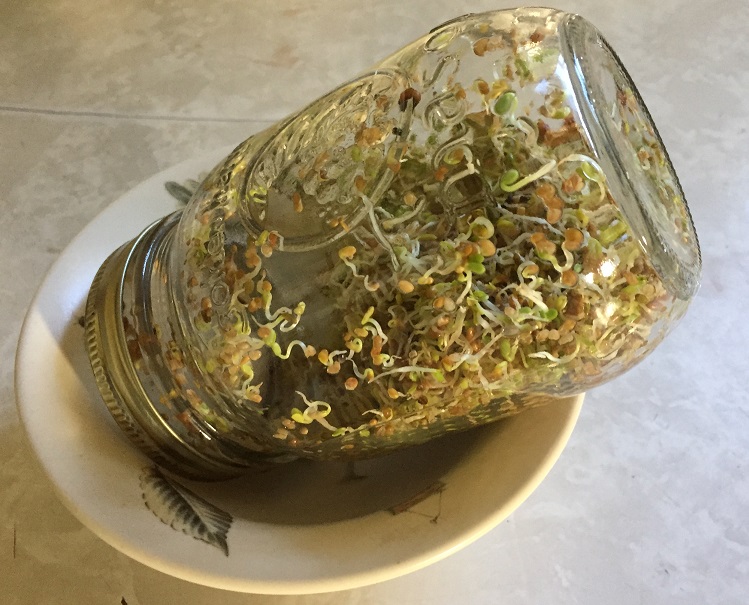
Set the mason jar in a small bowl at an angle so that the remaining water can drain from the seeds, and return the jar to a warm, shaded spot.
Twice daily, rinse the seeds a couple times, and place them to drain in that warm, shaded spot.
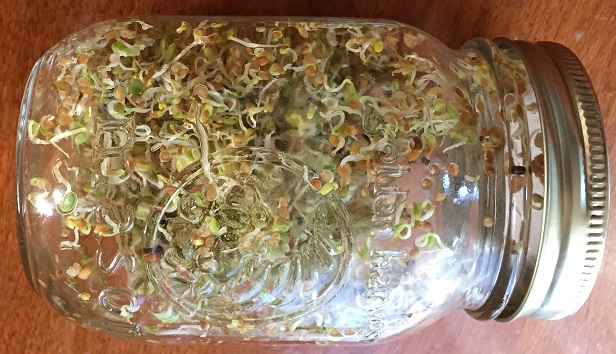
In 4 to 5 days, your sprouts will be ready to eat. Any sprouts that can’t be used immediately need to be refrigerated and used up within two to three days.
Avoiding potential problems
The one risk to growing sprouts at home is the development of mold. This risk can be easily mitigated by starting with super clean equipment, rinsing your sprouts twice daily and leaving them to drain, and then consuming or refrigerating finished sprouts immediately.
If your sprouts are looking a bit pale, put them in a sunny window for two or three hours to green them up but not long enough to let them burn.
Sign up for Short Season Garden Tips
Our newsletter is packed with tips for vegetable gardening in any zone, but is especially designed with short season gardening in mind.
Recent Articles
-
Leverage zone 3 advantages for cool season crops by planting early
 Cold climate gardeners sometimes mistakenly think cool season crops don’t need to be planted early.
 -
Hardening plants off is essential for avoiding transplant shock
 Hardening plants, while essential for ensuring the survival of your seedlings, can be challenge if you work a full-time job.
 -
Is composting in winter feasible in cold climates like zone 3?
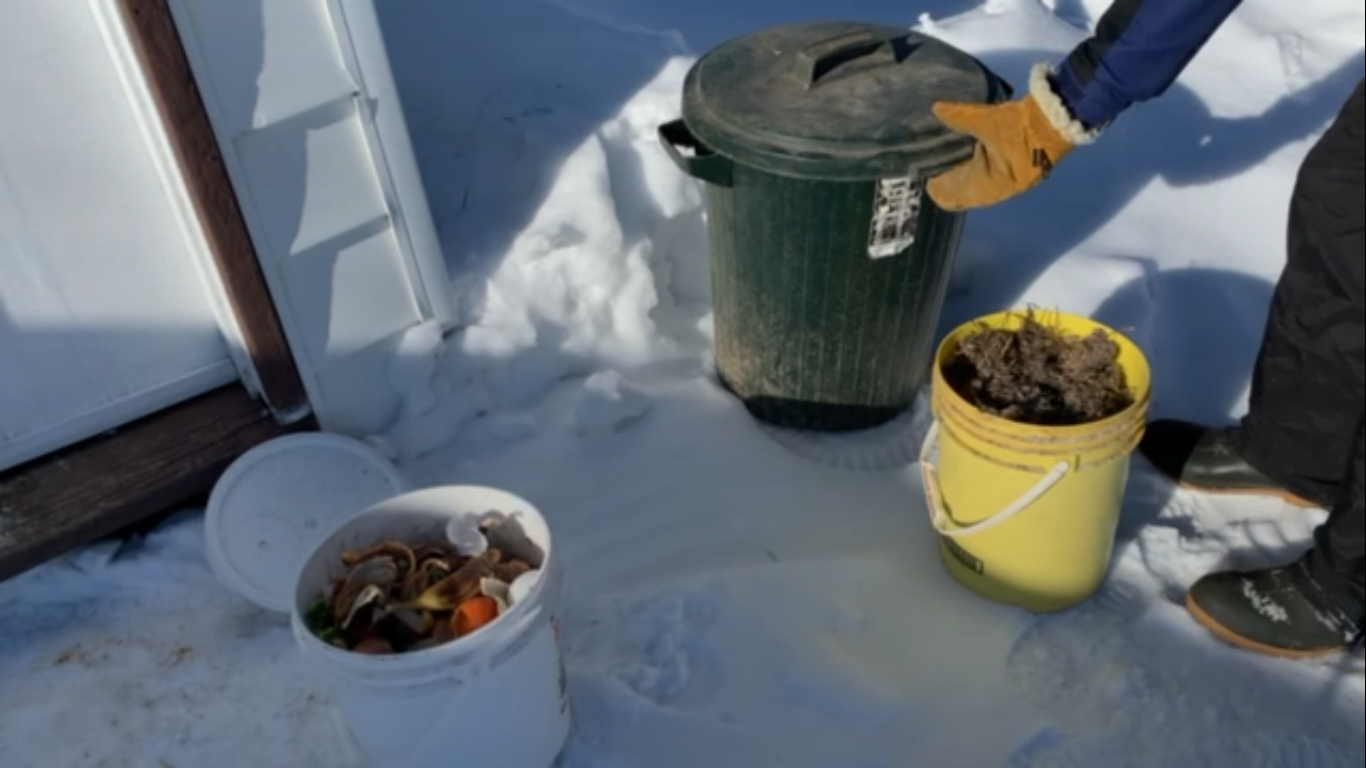 Composting in winter is possible even in the cold climate of Zone 3. However “northern” is a relative term. Take all “northern advice” in context.